3 Ways To Get the Best Results With Your Festool Domino
The Festool Domino is a game-changer in the world of woodworking, renowned for its ability to create strong, precise, and efficient floating tenon joinery. Woodworkers must understand the tool’s nuances and employ the right techniques to harness its full potential and achieve the best possible results. Explore some essential ways to get the best results with your Festool Domino in this article.
1. Perfect Your Setup and Calibration
Ensure you set up your Festool Domino correctly and calibrate it accurately before diving into your woodworking project. Here’s what you should do:
- Check the Depth Setting: Adjust the depth of the Domino cutter to match the size of the tenon you intend to use. Doing so ensures that the mortise is deep enough to accommodate the tenon without any gaps.
- Set the Fence Properly: The Domino’s adjustable fence is critical for aligning your mortises and includes two important adjustments: angle and height.
- Make sure the face of the fence is parallel to the top of your workpiece to establish the right angle.
- You can use the Domino’s “Board Thickness Gauge” to select the nearest metric equivalent to your workpiece’s thickness to set the height of the fence, so the mortise is in the middle of your workpiece.
- Select the Right Cutter Size: Festool offers a range of cutters to match different tenon sizes. Choose the cutter that corresponds to your project requirements.
- Test on Scrap Wood: Always make test cuts on scrap wood before working on your project. Doing so allows you to fine-tune your setup and ensure everything is in order.
2. Ensure Your Layouts and Measurements Are Accurate
Precision starts with accurate layouts and measurements. Here’s how you can achieve that accuracy:
- Mark Your Mortises: Use precise measurements and layout lines to mark the location of your mortises on both workpieces. Double-check your measurements to avoid mistakes.
- Set Mortise Width: The Domino has a dial to set three different mortise widths, permitting some side-to-side flexibility in the joint. A good general practice is to always cut one mortise with the Domino set to the smallest width (permitting no side-to-side movement), with the remaining mortises cut at the medium setting to provide easier alignment during glue-up.
- Maintain Consistent Placement: Ensure tenon locations are across the length of workpieces you’re joining. Doing so minimizes variation in your joinery that you would need to address later through time-consuming planning or sanding.
3. Secure Clamping and Workholding
Stability is another crucial way to get the best results with your Festool Domino. The following tips will help you maintain control of the workpiece and get the most out of your tool:
- Secure Your Workpiece: Use woodworking fixtures like clamps, bench dogs, or material stops (TDS-13 or TDS-10) to keep your workpiece firmly in place. These tools prevent movement during the cutting process.
- Steady Pressure: Apply even and steady pressure when plunging the Domino into your workpiece. Doing so prevents tear-out and ensures a clean mortise.
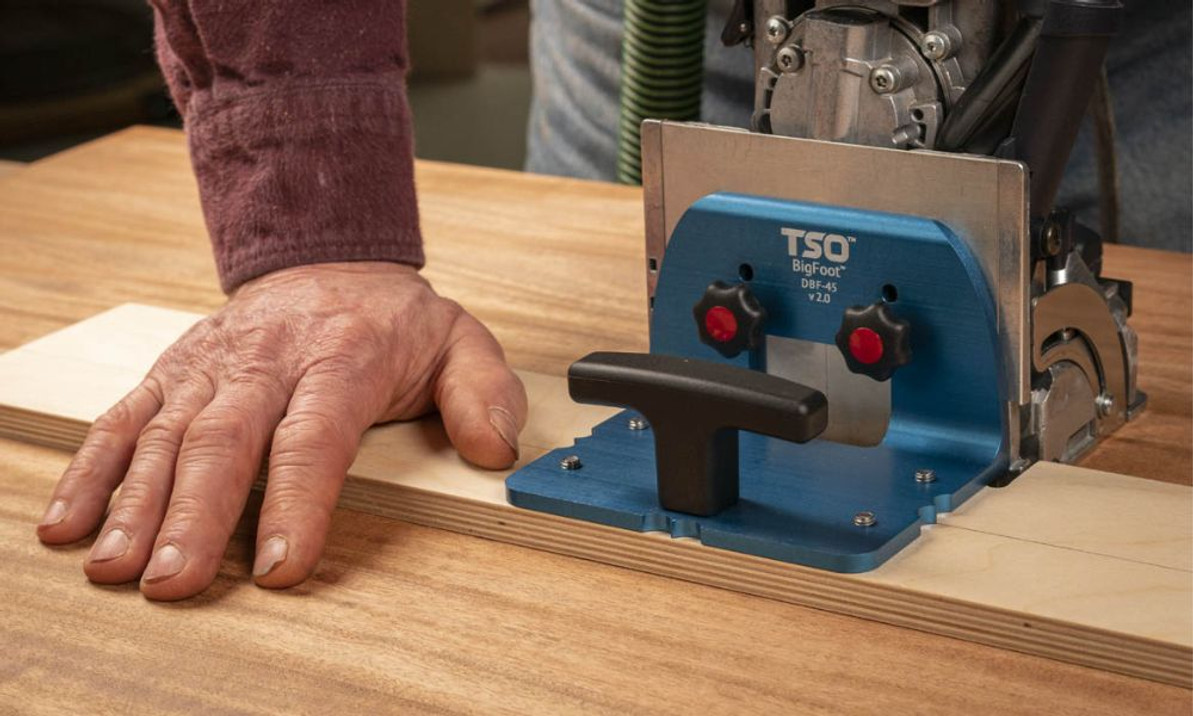
- Consider a Larger Domino Base: Using an auxiliary base to stabilize the Domino while plunging is essential when using the Domino for face mortising. Consider the BigFoot DBF-45 Base System fitting Festool Domino DF500 and DF700XL to improve stability and provide additional functionality.
You’ll unlock the full potential of this remarkable woodworking tool by perfecting your Festool Domino setup and calibration, paying meticulous attention to layout and measurement, and maintaining secure workholding. You’ll also consistently achieve the best results with these techniques in your arsenal.
Recent Posts
-
How To Break Down Sheet Goods With a Track Saw
Many woodworking projects start with sheet good processing—that is, taking full-size sheets of plywo …18th Mar 2024 -
6 Creative Applications of the MTR-18 Precision Triangle
Woodworking is an art of precision, and the right tools can make all the difference in achieving fla …12th Mar 2024 -
Gift Ideas for the Woodworker in Your Life
Discovering the ideal gift for the woodworking enthusiast in your life can be a complex task, but it …26th Feb 2024


