Tips To Avoid Common Glue-Up and Assembly Mistakes
Woodworking is a rewarding craft, but even the most experienced woodworkers face mistakes that only appear during the glue-up and assembly phase. It's frustrating when mistakes that seemed invisible earlier suddenly become glaringly obvious. To save time, materials, and sanity, review these tips to avoid common glue-up and assembly mistakes that often only appear after you’ve invested hours in a project.
Dry Fit Your Pieces
Before applying glue, always dry fit your pieces. This step helps you identify any discrepancies in measurements, misaligned joints, or other issues that can arise during assembly. Make adjustments as needed to ensure a seamless fit. A light touch with a handplane or hand sander can clean up ill-fitting joints.
Mark Your Pieces
Marking your pieces with labels or directional arrows can be a lifesaver during assembly. It's easy to get pieces confused when you're dealing with multiple seemingly identical parts. Clear markings help you match pieces correctly and avoid errors. Rather than marking directly on your workpieces, consider using painters’ tape, which generally doesn’t leave any adhesive residue to complicate finishing.
Use the Right Clamps
Using the right clamps is crucial for a successful glue-up. Ensure you have enough clamps and the appropriate types for the job. Use parallel clamps, pipe clamps, or band clamps, depending on your project's requirements.
Apply Even Pressure
Distribute pressure evenly across the entire joint when clamping. Avoid over-tightening, as it can cause misalignment or even excessive glue squeeze-out. Use clamping cauls or blocks to help distribute the pressure uniformly.
Check for Square
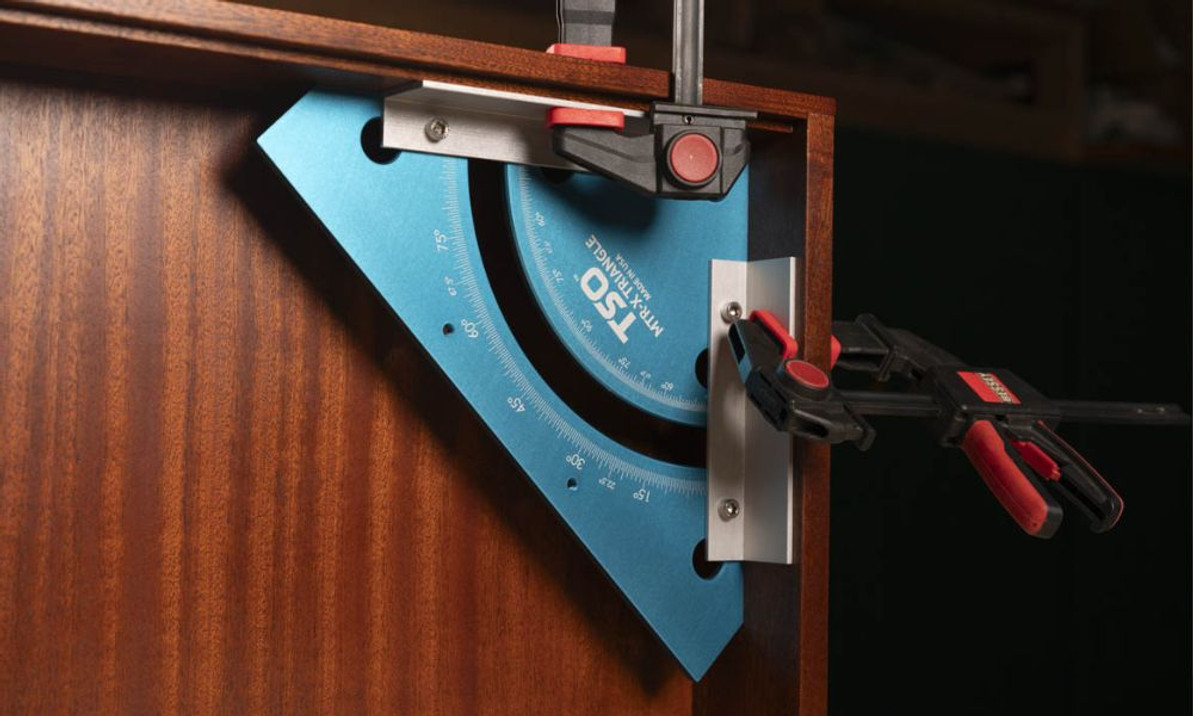
The next tip to avoid common glue-up and assembly mistakes is to never assume correctness! Checking for squareness before the glue has set is vital to prevent skewed assemblies. Use a carpenter's square or a framing square to verify that your project's angles are at 90 degrees. If they’re not, make adjustments before the glue sets.
Dry Run Your Glue-Up
Before applying glue, perform a dry run by assembling your pieces without adhesive. This practice helps ensure everything fits correctly and that you have a clear plan for the glue-up process. For complicated glue-ups, having a game plan is invaluable. You need to be able to get the entire assembly in clamps quicker than the glue’s rated open time.
Use Glue Applicators
For precise glue application, consider using glue applicators like brushes or glue rollers. These tools help control the amount of glue applied and minimize excess squeeze-out that can be difficult to clean up later.
Address Wood Movement
Wood expands and contracts with changes in humidity and temperature. If you don't account for this movement in your design, you risk joints loosening or cracking. Understand wood movement and use techniques like floating tenons or elongated holes (slots) to accommodate it.
Maintain a Clean Workspace
A cluttered workspace can lead to mistakes during assembly. Keep your work area organized and remove any debris or dust that could interfere with your glue-up. Having a clean workspace while using woodworking equipment ensures a smoother and more accurate assembly process.
Have Patience
Rushing through the glue-up and assembly stage can lead to costly mistakes. Take your time, double-check everything, and don't rush the process. It's better to spend a few extra minutes ensuring a precise assembly than to deal with the frustration of fixing errors later.
Woodworking is a skill that requires attention to detail and patience, especially during the glue-up and assembly phase. By following these tips and taking the necessary precautions, you can minimize the chances of encountering woodworking mistakes that only become apparent during this critical stage.
Recent Posts
-
Building Your Own DIY MFT/3-Style 20mm Workbench Table
The 20×96mm workbench standard popularized by Festool’s MFT/3 has become a go-to foundation in moder …27th Jan 2026 -
JessEm Stock Guides for DeWalt Table Saws: Precision & Consistency
JessEm Stock Guides give you consistent hold-down pressure, one-way feed control, and include a slig …19th Dec 2025 -
What Size Guide Rail Do I Need? Choosing the Right Length (and When to Use Extensions)
The scenario: you need to make a cut in that full size plywood panel sitting in the corner of your s …6th Nov 2025


