Types of Track Saw Cuts and How To Do Them Right
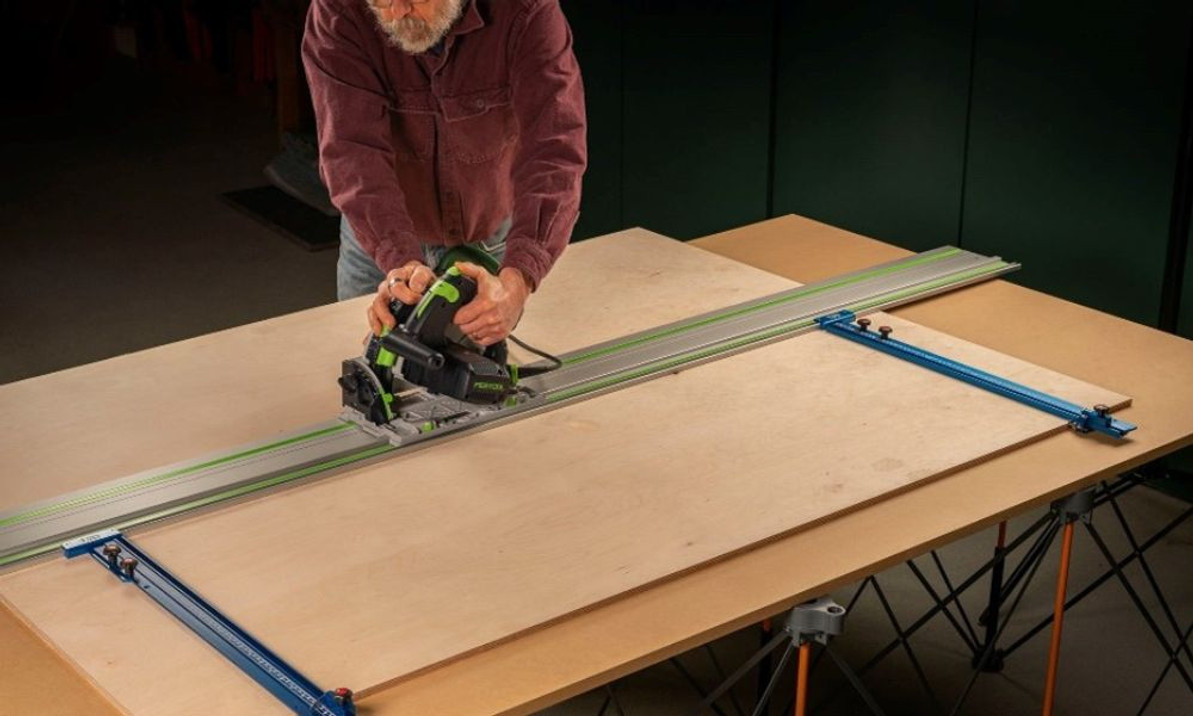
A track saw (or plunge cut saw) is one of the most versatile tools for hobbyists and professional woodworkers alike. In this article, we’ll explain the primary types of track saw cuts and how to do them right. This way, you’ll receive the best results.
Background on the Modern Track Saw
In its most basic form, a track saw is a woodworking power tool to make precise, straight cuts in large sheet materials like plywood, MDF, or particle board. Track saws are set apart from circular saws in that they work in conjunction with a guide rail, typically made of extruded aluminum. Woodworkers place the guide rail on top of the material, and the track saw is then run along the rail to make the cut. This method eliminates the need for measuring and marking the entire cutting line, as the track serves as a reference for the saw blade.
Track saws break down large sheet goods, such as when building cabinets, furniture, or other large-scale woodworking projects. They are also useful for cutting doors and windows into walls and for making bevel and compound cuts. Some even find that modern track saws are good replacements for table saws. Being able to “take the tool to the work” makes certain woodworking tasks like cutting down large sheet materials faster and much less fatiguing, especially if you’re a one-person shop.
Cut 1: The Rip Cut
A rip cut is a cut made along the length of the board and parallel to the wood grain. This is one of the most common cuts performed with the track saw. When breaking down sheet goods, many woodworkers will make their first track saw cut along the long edge of the sheet, providing a straight reference edge for future parallel and perpendicular cuts. For the best quality rip cut, ensure:
- Your track saw is properly “married” to your guide rail, eliminating any lateral slop. Most track saws feature two adjustment knobs to make this a quick process.
- Your track saw blade is clean, sharp, and ideal for the material being cut. When cutting hardwoods or denser materials, consider specialized rip blades, which typically have fewer teeth and do a better job of evacuating chips while cutting.
Cut 2: The Cross Cut
A cross cut is a cut made perpendicular to the face grain of the workpiece. This is another cut where the track saw excels. To get the best, tear-out-free results when cutting across the grain, it’s important to:
- Power up and plunge the saw before starting the cut. This will ensure the best quality cut at the beginning and end of your cut.
- Optimize your cutting surface. Using a table with a sacrificial surface made of a material like MDF helps to eliminate tear-out on the bottom edge of your workpiece. Also, consider a fence or material stop to support the back of your workpiece.
- Carefully inspect your guide rail’s splinter guard before making the cut. The splinter guard serves an important role: it keeps wood fibers compressed while the track saw is cutting, helping to reduce or eliminate tear-out on the top side of the cut.
- Use a guide rail square to get perfectly perpendicular, 90-degree cross cuts.
Some track saws feature a disposable splinter guard insert which slides into the body of the track saw and can reduce tear-out on the other side of the blade (on the “off cut” piece). This is worth using if you care about the edge quality of your off-cut piece.
Cut 3: The Bevel Cut
A bevel cut is a cut made at an angle to the edge of the board. Most track saws feature easy and accurate angle adjustment, usually by way of locking knobs on the front and back of the saw. With the proper angle set, place the track saw onto your guide rail and carefully make the cut. Here are some tips for getting accurate bevel cuts:
- Properly support your track saw and guide rails through the entire cut. Beveling the saw can alter its center of mass and create a tipping hazard, so proper support is critical.
- Consider cutting in multiple passes. Bevel cuts require the blade to dive deeper than perpendicular cuts, which can place more strain on the saw. A track saw can easily make multiple passes through the same kerf line.
- If applicable, take advantage of any anti-tip measures of your track saw and guide rail. Products from Makita and Milwaukee both offer an anti-tip feature.
Cut 4: The Plunge Cut
Plunge cuts are commonly used for cutting windows in sheathing. Complete a plunge cut by lowering the saw blade straight down into the workpiece. To get the best results when plunge cutting:
- Set the depth first. Adjust the saw’s maximum cutting depth to match the thickness of the material you are cutting.
- With the blade at full speed, enter the workpiece slowly using both hands. Plunge cuts present a risk of kickback if you plunge the saw too quickly into the workpiece.
- Stabilize your guide rail. Utilize clamps or other measures to keep the guide rail firmly placed on your workpiece.
Accessories To Get Better Results
Track saws are an amazingly versatile tool, made even more useful with a wide range of available accessories like guide rails, bench dogs, and precision triangles.
There are many types of track saw cuts, and it’s important to make sure you do them right. From TSO parallel guide systems to other woodworking accessories, TSO Products makes a wide range of woodworking accessories to help you get even more from your track saw. Browse our product categories today!

Recent Posts
-
What Size Guide Rail Do I Need? Choosing the Right Length (and When to Use Extensions)
The scenario: you need to make a cut in that full size plywood panel sitting in the corner of your s …6th Nov 2025 -
Best Track Saw Systems: Expert Review & Advice
The track saw market has changed considerably over the past three years. Back then, your options wer …6th Nov 2025 -
Systainer Storage Guide: Organize Your Workshop Tools
Picture this: you're setting up for what should be a straightforward series of cuts, but you can't l …2nd Sep 2025


