
How to Use a Wood Router for Clean, Controlled Cuts
A wood router is one of the most versatile tools in any woodworking shop. It edges, joints, shapes, hollows, and details. But it's also one of the tools that takes the most practice to use with confidence, especially when it comes to getting clean, controlled results consistently.
This guide covers the fundamentals of router use, the most common operations, and the practical habits that lead to better cuts. Whether you're getting more comfortable with a router or looking to sharpen your technique, the same principles apply.
What Does a Wood Router Do?
A wood router spins a shaped bit at high speed to cut, shape, and hollow out wood. That simple concept covers a surprisingly wide range of applications:
- Edge profiles (roundovers, chamfers, ogees)
- Dadoes and rabbets
- Mortises for joinery
- Template and pattern routing
- Decorative inlays and detailing
It's often called the most versatile power tool in the shop, and that reputation is earned. Few other tools can handle this range of operations with a simple bit change.
Types of Wood Routers
Not all routers are built for the same work. Here's how the main types break down.
Fixed-Base Routers
Bit depth is set before the cut and stays locked in during the operation. These are the go-to for edge profiling and router table use where you need consistent, repeatable depth.
Plunge Routers
The bit lowers into the workpiece during the cut, which makes them the right choice for mortises, inlays, and any interior cut that doesn't start at an edge.
Combo Kits
These include interchangeable fixed and plunge bases on the same motor. Good value for shops that need both capabilities without buying two separate tools.
Trim Routers / Palm Routers
Lightweight and one-handed, these handle edge work, light profiling, and detail tasks where a full-size router would be overkill.
The short version: fixed-base for edge work and table use, plunge for interior cuts, trim for light-duty tasks.
Essential Router Bits to Know
You don't need a massive bit collection to cover most router work. These handle the majority of common operations:
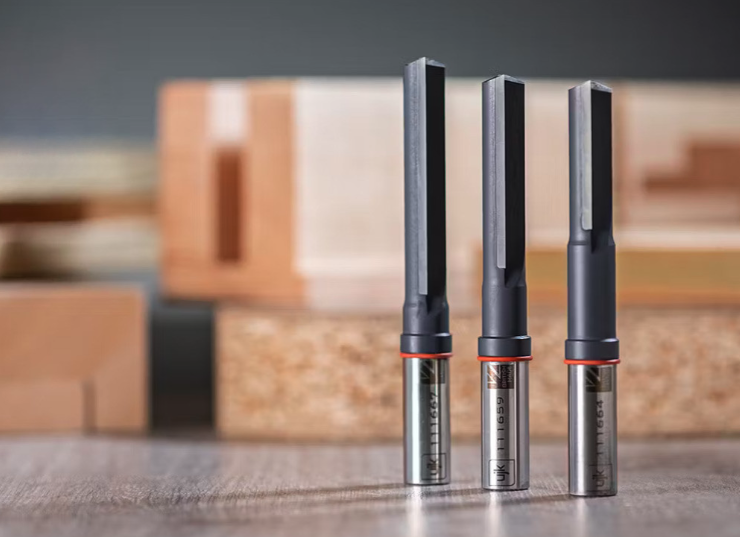
- Straight bits — dadoes, rabbets, grooves, and general material removal
- Flush trim bits — template routing and trimming edging flush to a surface
- Roundover bits — softening edges with a consistent radius
- Chamfer bits — angled edge profiles
- Rabbeting bits — cutting rabbets along an edge with a bearing guide
- Cove bits — concave decorative profiles
One note on shank size: 1/2" shanks are more rigid and produce less vibration than 1/4" shanks, which means cleaner cuts and less chatter, especially on larger bits. Use 1/2" when your router accepts it.
When it's time to add or replace bits, TSO's routing collection includes bit options alongside guides and accessories built for precision work. We also have a separate guide for bit selection.
How to Set Up a Router for a Cut
Good results start before the router turns on. A consistent setup process keeps your cuts clean and your work safe.
- Select and install the right bit. Match the bit to the operation and make sure it's seated properly in the collet.
- Set your bit depth. For most operations, take multiple shallow passes rather than one deep cut. This reduces strain on the bit and gives you a cleaner finish.
- Adjust speed based on bit diameter. Larger bits need slower speeds. Most routers include a speed chart — use it.
- Secure the workpiece. Clamps, non-slip mats, or bench dogs. The workpiece shouldn't move during the cut.
- Make a test cut on scrap. Every time. This confirms your depth, profile, and fence position before you commit to the actual workpiece.
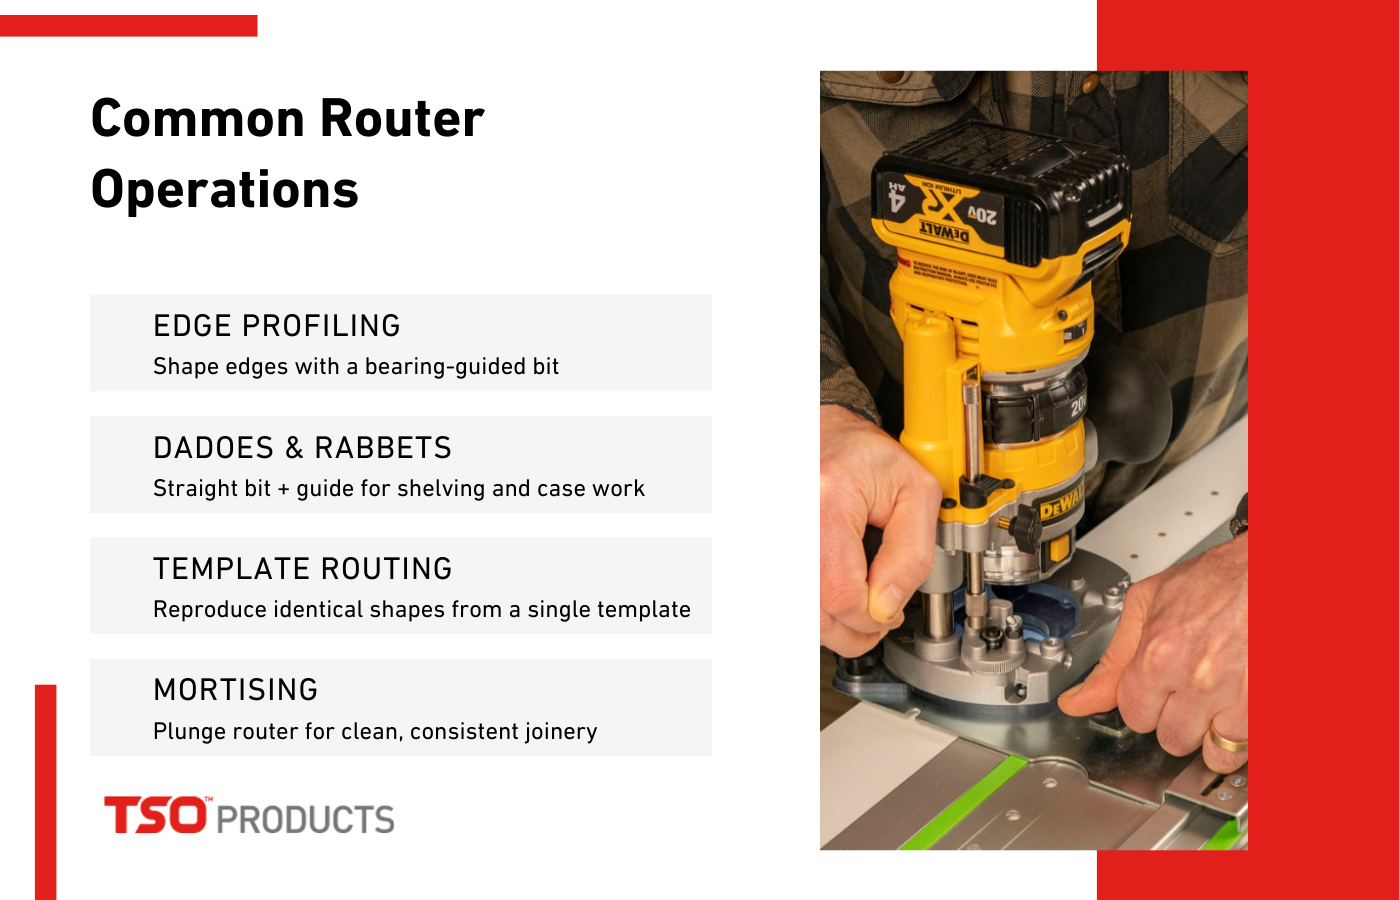
Common Router Operations
Edge Profiling
The most common router task. A roundover, chamfer, or ogee bit with a bearing guide follows the edge of your workpiece to produce a consistent profile. Let the bearing ride the edge and keep a steady feed rate.
Cutting Dadoes and Rabbets
A straight or spiral bit paired with a fence or straight edge guide cuts clean dadoes and rabbets for shelving, case work, and panel joinery. Set your depth in passes and keep the router base flat against your guide throughout the cut.
Template Routing
Flush trim or pattern bits let you reproduce identical shapes from a template. This is where routers and jigs work together — a good template turns a router into a repeatable production tool.
Mortising
A plunge router with a straight bit and an edge guide or mortising jig cuts clean, consistent mortises. Plunge in stages, clear chips frequently, and let the bit do the work without forcing the feed.
Handheld vs. Router Table
Both setups have their place. The decision comes down to workpiece size and the type of cut.
- Handheld — best for large workpieces, edge work, and on-site tasks where bringing the tool to the work makes more sense
- Router table — best for small pieces, repetitive cuts, and operations where having both hands free improves control and safety
- Hybrid – with the right accessories, it is possible to attach your router to a track guide rail, giving you smooth linear movement for dados, rabbets, and mortises
A general rule: if the workpiece is bigger than the router, go handheld. If the bit or workpiece is small enough that your hands would be uncomfortably close to the cut, use a table.
Router Safety Basics
Routers spin at high RPMs and remove material aggressively. A few non-negotiable habits:
- Understand feed direction. Move the router against the bit's rotation. For handheld work on an outside edge, this means moving left to right. Reversing this creates a climb cut, which can grab the workpiece and pull the router off course.
- Wear hearing and eye protection. Routers are among the loudest tools in the shop.
- Use dust collection. Router dust is fine and gets everywhere. Your lungs will thank you.
- Keep hands clear and use push devices, featherboards, and guards when working on a router table.

Tips for Cleaner Cuts
- Take multiple shallow passes. Removing less material per pass reduces tearout and burning.
- Match speed to bit size. Large bits at high RPMs burn wood and stress the motor.
- Use sharp bits. Dull bits generate heat, leave burn marks, and tear fibers instead of cutting them.
- Support the workpiece fully. Any movement during the cut shows up in the finished surface.
- On end grain, a light climb cut at the start of the pass can reduce blowout at the exit edge. Use caution — this is an advanced technique that requires a controlled, light touch.
Practice, Setup, Patience
A router rewards discipline. The more attention you give to feed direction, depth control, and bit selection, the cleaner and more controlled your results get. It's not a tool you master in a day, but the fundamentals covered here apply whether it's your first month or your twentieth year.
For router bits, guides, and accessories designed around precision and clean results, explore TSO's routing collection.
Recent Posts
-

How to Use a Wood Router for Clean, Controlled Cuts
A wood router is one of the most versatile tools in any woodworking shop. It edges, joints, shapes, …6th Mar 2026 -

Woodworking Jigs That Improve Accuracy and Repeatability
Every experienced woodworker reaches a point where freehand work and careful measuring hit a ceiling …3rd Mar 2026 -

Festool Domino Accessories: Why the BigFoot Base System Is Worth a Look
The Festool Domino handles edge mortising well out of the box. Face mortising is a different story. …24th Feb 2026